Thursday, July 17, 2014

This weeks stitching update

Made a good dent in the stitching of the sky last week. I started to question however if I had enough fabric to go across. Not a good feeling after all the hours I have already put in. I did a quick count and for reassurance I did start some stitching on the second page of the pattern. Looks like it will fit thank goodness. Panic over :)


Monday, July 7, 2014

Progress on the tree

Hope everyone had a great 4th of July!
I took a bit of a break from stitching so I don't have much to show.
In the past week however I worked on a section of tree. I then needed a break from all the color switching so I started on the sky. I love how it's looking. 
Hope to have some more time this week to make more progress :)


Wednesday, June 18, 2014

Update moving right along

I was able to have some stitching time the past couple of days. Here is another update.
Moving right along. Happy Stitching!

Sunday, June 15, 2014

Stitching Log - 10 Hours of Stitching

I'm tracking my hours for the time I spend stitching. I think it will be interesting to see how much time Lady & The Tramp takes to stitch.
I'm also going to take pictures along the way to see the progress. I think I will enjoy looking back when I get down to the final stitches.

Everything is going well so far. Since I'm just getting started there isn't much to look at yet. This is about 10 hours worth of stitching. There is a lot of color switching so it feels like it is taking forever to get anywhere. I know it will look amazing in the end. Happy stitching everyone!


Saturday, June 14, 2014

The first few stitches

Where to start:
I am going to start stitching in the top left corner for this project. Often times we start right in the middle and work out wards. I am starting here mainly due to the size of the project.

Preparing my thread:
Lady & The Tramp is stitched using 2 threads of floss for the cross stitches. I like to separate each piece of floss then put 2 together. This helps to make the stitches full and keeps the actual stitch nice a clean looking. This technique also helps to reduce twisting in the thread and knots.

For my first stitch I leave a short tail in the back that I place my finger over while I do the first couple of stitches. Once anchored I am free to stitch away. Some people will do a knot in the thread to hold it. I don't like to do it that way as it can cause bumps in the finished piece when it gets framed.

Setting up my stitching space

Comfortable chair check
Being comfortable as to not cause neck and back strain is very important. Posture makes stitching for long periods of time enjoyable. Really take notice as to how you are positioned while you are stitching. Also be sure to take breaks. Get up and stretch.

Good lighting check
I was given a great ott light for Christmas. It lights up my stitching space when stitching in the evening. During the day natural light is great.

Aida mounted to stitching frame check
I have attached the fabric to my stitching frame. It is nice and tight for easy stitching.

Needlework scissors on hand check
A good sharp pair of needlework scissors is great to have on hand for snipping threads.

Pattern check
I have taken a copy of the original pattern so that I have a working copy. I can make notes on it and even mark it up and I still have the original if my working copy needs replacing.

Sorted threads check
I have the pre-sorted thread cards ready to go.


I think I'm ready! Let the stitching begin!

Next time logging my stitching time.

Friday, June 13, 2014

Choosing a cross stitch frame

As the Lady & The Tramp piece is quite large being 16x12 I decided it would be best to stitch using a frame. I currently have a couple of frames but they all have some features that just don't quite work for me.

I have a free standing frame. These are great for large projects. They also have lots of adjustments so you can tweak them to the right hight and angle. However the one that I have seems to come loose at all of the adjustment points so it moves around to much for my liking. Below is a picture of it. It is the Edmunds Adjustable Craft Frame.
 

The next one I have is one that you would place over your lap. It is on a pivoting frame. This one is similar to the one above in that it gets loose and moves around. American Dream Products Oak Frame. Picture below.

                                       
So I wanted to try a frame that didn't have so many moving parts. I want one that I can place over my lap as I like to sit in a comfortable chair to stitch. I also want a frame that I can easily get my arm underneath without constantly bumping into the edges of the fabric. So I have ordered the below frame by Images Stitchery. I have high hopes for it. It comes with 2 different size rods. I will have to make an additional set of rods as I need them just a bit wider for the Lady & The Tramp kit.


What is your favorite stitching frame or hoop?

Saturday, May 31, 2014

Hello fellow stitchers welcome to my blog

This is going to be a collection of cross stitch projects that I am going to share my progress on and a few cross stitch tips and techniques that I use along the way. I hope you enjoy the read and pictures. Thank you for visiting.

I have just purchased my first Disney Dreams cross stitch kit. These kits are based on the paintings of Thomas Kinkade. For my first kit I have decided to do Lady & The Tramp. The detail that is portrayed in this piece of art is amazing. So many components of the story are all captured in a single 16x12 picture. Below is what it will look like when it's finished.

About the kit:
Made in USA by MCG Textiles
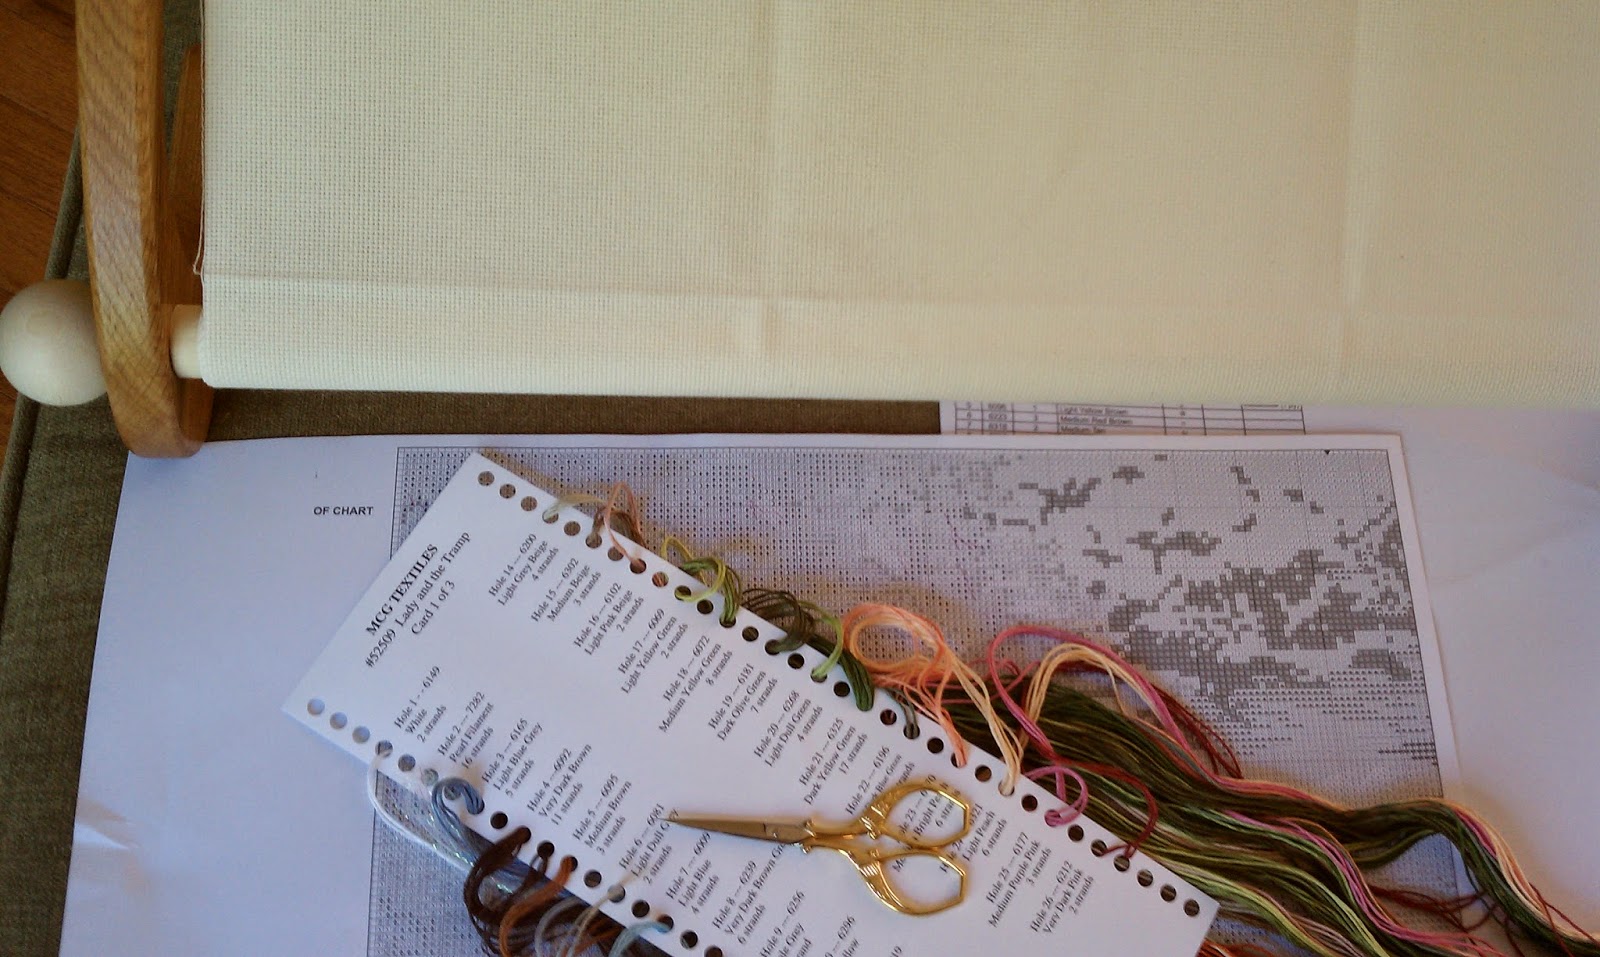
The kit includes 18 count Aida cloth
Pre-sorted floss
Decorative thread
Needle
And of course directions

When searching to purchase these kits be sure to find out if the kit has pre-sorted floss. The older kits did not come pre-sorted. The pre-sorted floss saves a lot of prep time.

Opening the kit:
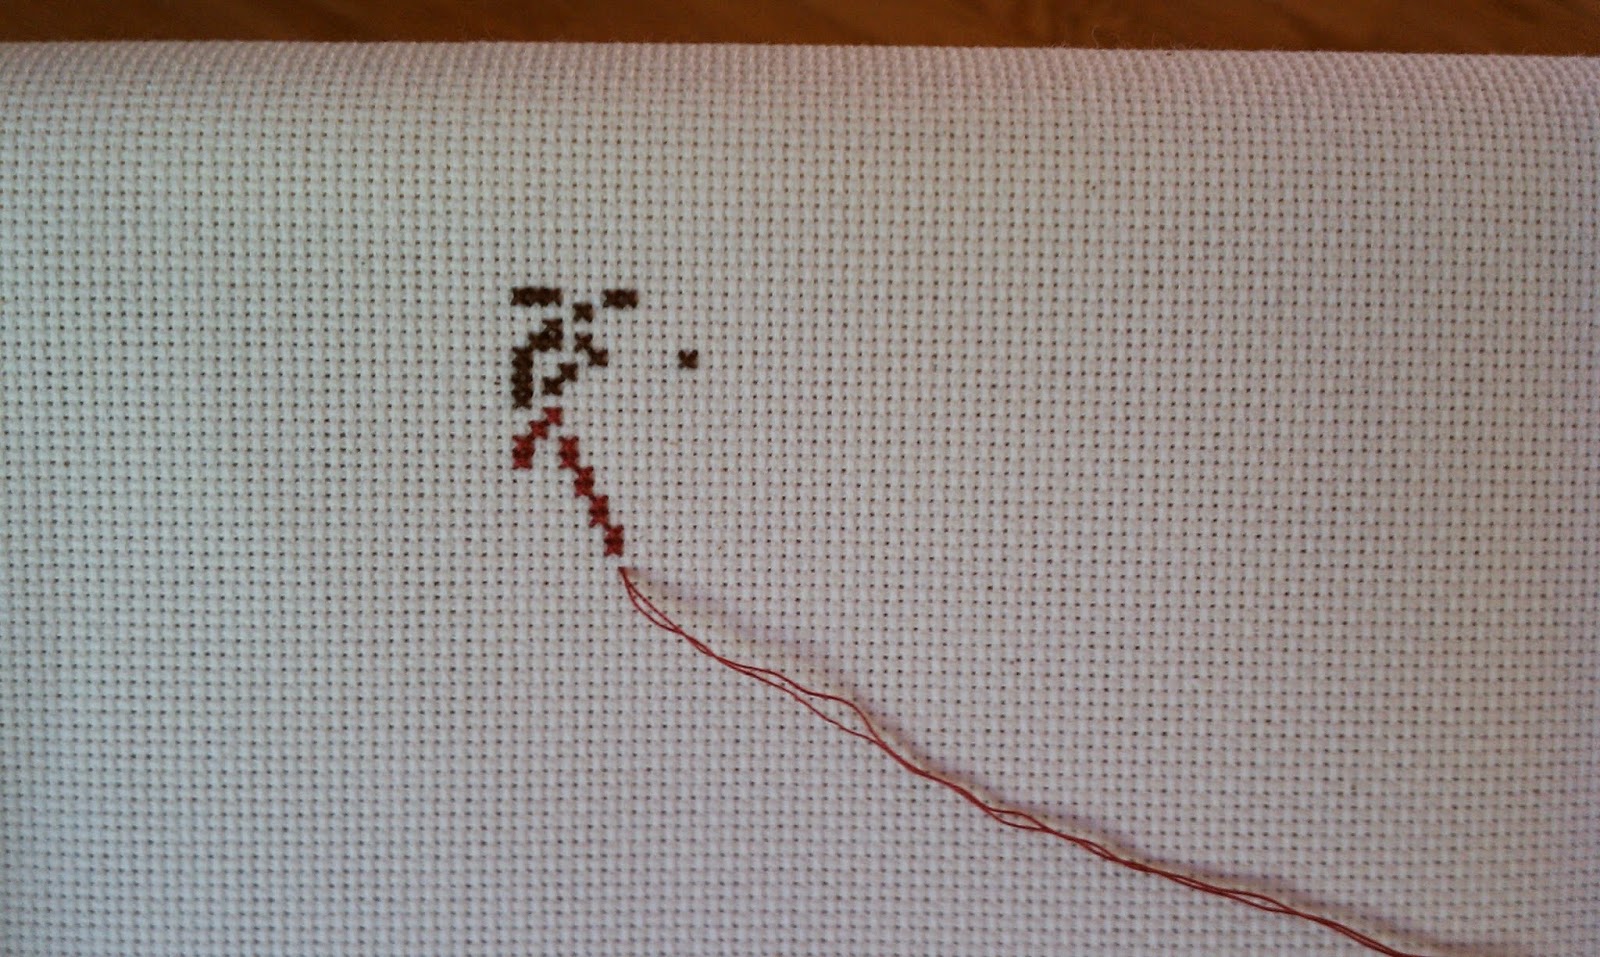
The instructions included in the kit are great. The pattern is nice and clear as are the symbols. I am going to photo copy the pattern so that I have a working copy. With a pattern this large I want to be able to mark the areas that I have completed with a marker.

The pre-sorted floss cards are fantastic! They even provide an extra hole for each color so that you can keep the full pieces of floss separate from the working ones.

The Aida cloth is a light tan color. It is a nice size piece with a good amount of extra for putting it in a cross stitch frame and for actual mounting and framing when it's finished.